
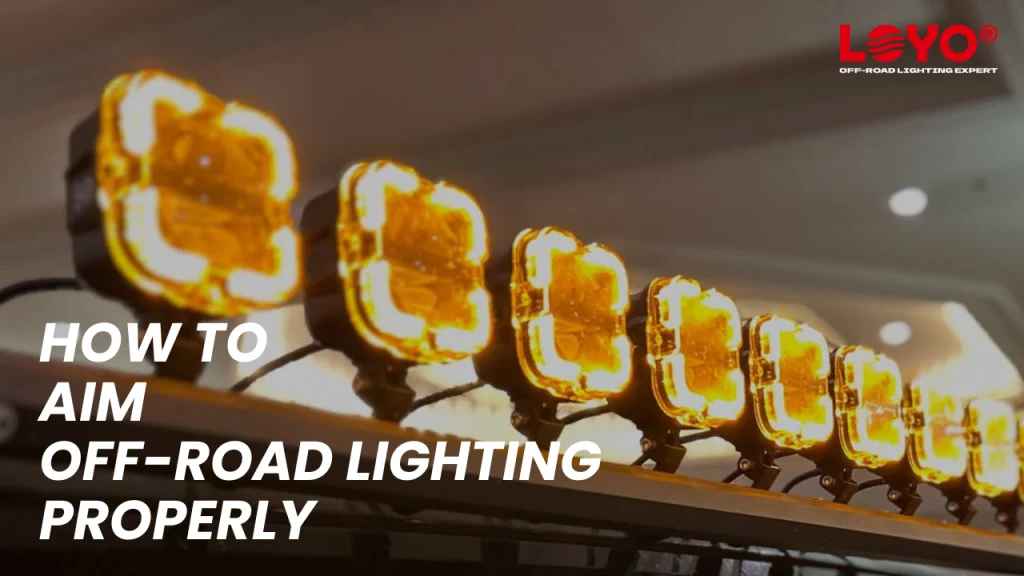
Off-road lighting is a game-changer for adventurers who love exploring trails, tackling rugged terrain, or simply enjoying the road less traveled after sunset. Proper lighting not only enhances visibility and safety but also elevates your driving experience. However, when these lights are poorly aimed, they can turn into a major liability—blinding other drivers, creating glare, and even reducing your visibility in certain conditions.
In this guide, we’ll cover everything you need to know about aiming your off-road lighting correctly. From ditch lights to roof-mounted light bars, and even tips to avoid common pitfalls, this blog will help you get the most out of your setup.
Why Proper Aiming Matters
A poorly aimed light bar or auxiliary light can cause more harm than good. Not only can it create unnecessary glare off your hood, fog, or dust, but it can also reduce the effectiveness of your lights by wasting output in the wrong areas. Proper aiming ensures:
- Maximized Visibility: Lights illuminate the trail exactly where you need them.
- Improved Safety: Avoid blinding other drivers or yourself.
- Better Driving Experience: Focused beams reduce eye strain and enhance clarity.
How to Aim Ditch Lights
Ditch lights are mounted on the A-pillars of your vehicle and provide illumination to the sides of the trail. They’re perfect for spotting obstacles, navigating tight corners, and lighting up trail edges.
Steps to Aim Ditch Lights:
- Tilt Downward: Angle the lights slightly downward to avoid glare.
- Angle Outward: Set them outward at about a 20° to 30° angle.
- Directional Aiming:
- Driver’s side: Aim toward the 10 or 11 o’clock direction.
- Passenger’s side: Aim toward the 1 or 2 o’clock direction.
Why This Matters:
Your headlights and light bars already light up the area in front of you; ditch lights should focus on the sides to provide better visibility for tight trails and obstacles.
How to Aim Light Bars
Light bars are the heavy hitters of off-road lighting, designed to project light far ahead. However, improper aiming can cause issues like hood glare, skyward illumination, or poor visibility in dusty or foggy conditions.
Steps to Aim Light Bars:
- Positioning:
- Bumper-Mounted Bars: Aim slightly downward to illuminate the trail ahead.
- Roof-Mounted Bars: Avoid aiming too high (lighting up the sky) or too low (causing hood glare).
- Beam Pattern:
- Spot Beam: Keep the beam straight with a slight downward tilt for long-range visibility.
- Combo Beam: Let the side flood beams illuminate the foreground while the center spot beams project light far ahead.
Pro Tip:
If you experience hood glare from a roof-mounted light bar, consider applying a matte black hood decal or vinyl wrap to reduce reflections.
General Aiming Tips for All Off-Road Lights
The 25-Foot Rule:
To properly aim your lights at home:
- Park 25 Feet from a Wall: Ensure the vehicle is on level ground.
- Measure Light Height: Measure the distance from the ground to the center of your light.
- Mark the Wall: Mark the same height on the wall, then adjust the light so its hot spot is 2 to 4 inches below the mark.
This method works for ditch lights, light bars, and even fog lights, ensuring accurate and consistent aiming.
When and Where to Use Each Type of Light
Each type of off-road light has a specific purpose. Using the right light in the right situation is crucial for maximizing visibility without creating unnecessary glare or confusion.
Ditch Lights
- Best For: Rock crawling, overlanding, tight switchbacks, and spotting wildlife or trail edges.
- Ideal Conditions: Slow technical driving or navigating tight trails.
Bumper-Mounted Light Bars
- Best For: Forest roads, desert runs, and wide-open trails.
- Ideal Conditions: Moderate speeds with clear air.
Roof-Mounted Light Bars
- Best For: High-speed runs and open terrain.
- Ideal Conditions: Clean air (no dust or fog). Avoid using in bad weather as they can create glare.
Fog Lights and Amber Lights
- Best For: Dust, fog, rain, and snow.
- Benefit: Amber or yellow light cuts through poor visibility conditions without creating glare for the driver.
Common Mistakes to Avoid
Blinding Oncoming Traffic:
Keep off-road lights switched off when driving on public roads unless they are legal and properly aimed.
Using the Wrong Light in the Wrong Situation:
For example, don’t use roof-mounted light bars in foggy conditions—they’ll only make visibility worse.
Improper Wiring:
Wire lights separately to ensure proper control. Avoid tying them into your high beams, as this can cause accidental use and blind oncoming drivers.
Ignoring Local Laws:
Many states have regulations about off-road lighting. Check your local laws to ensure compliance and avoid fines.
Recommended Products for Off-Road Lighting
Here are some excellent options from LOYO for off-road lighting that deliver performance and reliability:
4 Inch 6-IN-ONE DIY Lens Pod Lights

These Lights are versatile, offering the flexibility to customize your lighting needs with additional lenses. The Flood beam provides a wide light pattern, illuminating a broad area with ease, while the Spot beam delivers a concentrated beam of light in one spot. Opt for the Combo lens for the perfect combination of both wide and focused lighting patterns.
7 inch 120W Honeycomb LED Driving Lights

Featuring flood and spot combo lenses, side shooter optics, signature 48W center-line intense horizontal amber marker, sealed metal-to-metal housing and rigid honeycomb design. Perfect for extreme conditions with robust construction.
4 inch 90W Apex Series Pod Lights

These multi-function LED pod lights feature two main light types: high beam and low beam, provide all-round lighting effects, it can not only illuminate the road and the surrounding environment from a long distance, but also provide sufficient close-range lighting when needed, ensuring that the driver can get good visibility in different environments.
The LOYO Advantage
As a trusted supplier of off-road and motorcycle lighting solutions, LOYO is committed to providing high-quality and innovative products. Whether you’re looking for premium off-road lights or need customized solutions, LOYO offers:
- OEM & ODM Services: Tailored lighting solutions for distributors and retailers.
- Global Reach: Serving customers in over 100 countries with certifications like CCC, E-MARK, and DOT.
- Durable Designs: Products built to withstand harsh conditions while delivering outstanding performance.
Conclusion
Properly aiming your off-road lights is essential for maximizing visibility, improving safety, and enhancing your driving experience. Whether you’re setting up ditch lights, bumper-mounted light bars, or roof-mounted options, taking the time to aim them correctly makes all the difference.
Remember, every light has a purpose. Use the right light in the right situation, and you’ll not only see more but also drive safer. For premium lighting solutions, trust LOYO to deliver performance and reliability every time.
Whether you’re a distributor, fleet integrator, or tuning shop looking for premium off-road lighting, LOYO is your trusted partner.
Email: official@loyolight.com
WhatsApp: +1(725) 236-3156
Get in touch with our lighting experts today for a tailored quote or technical consultation.