
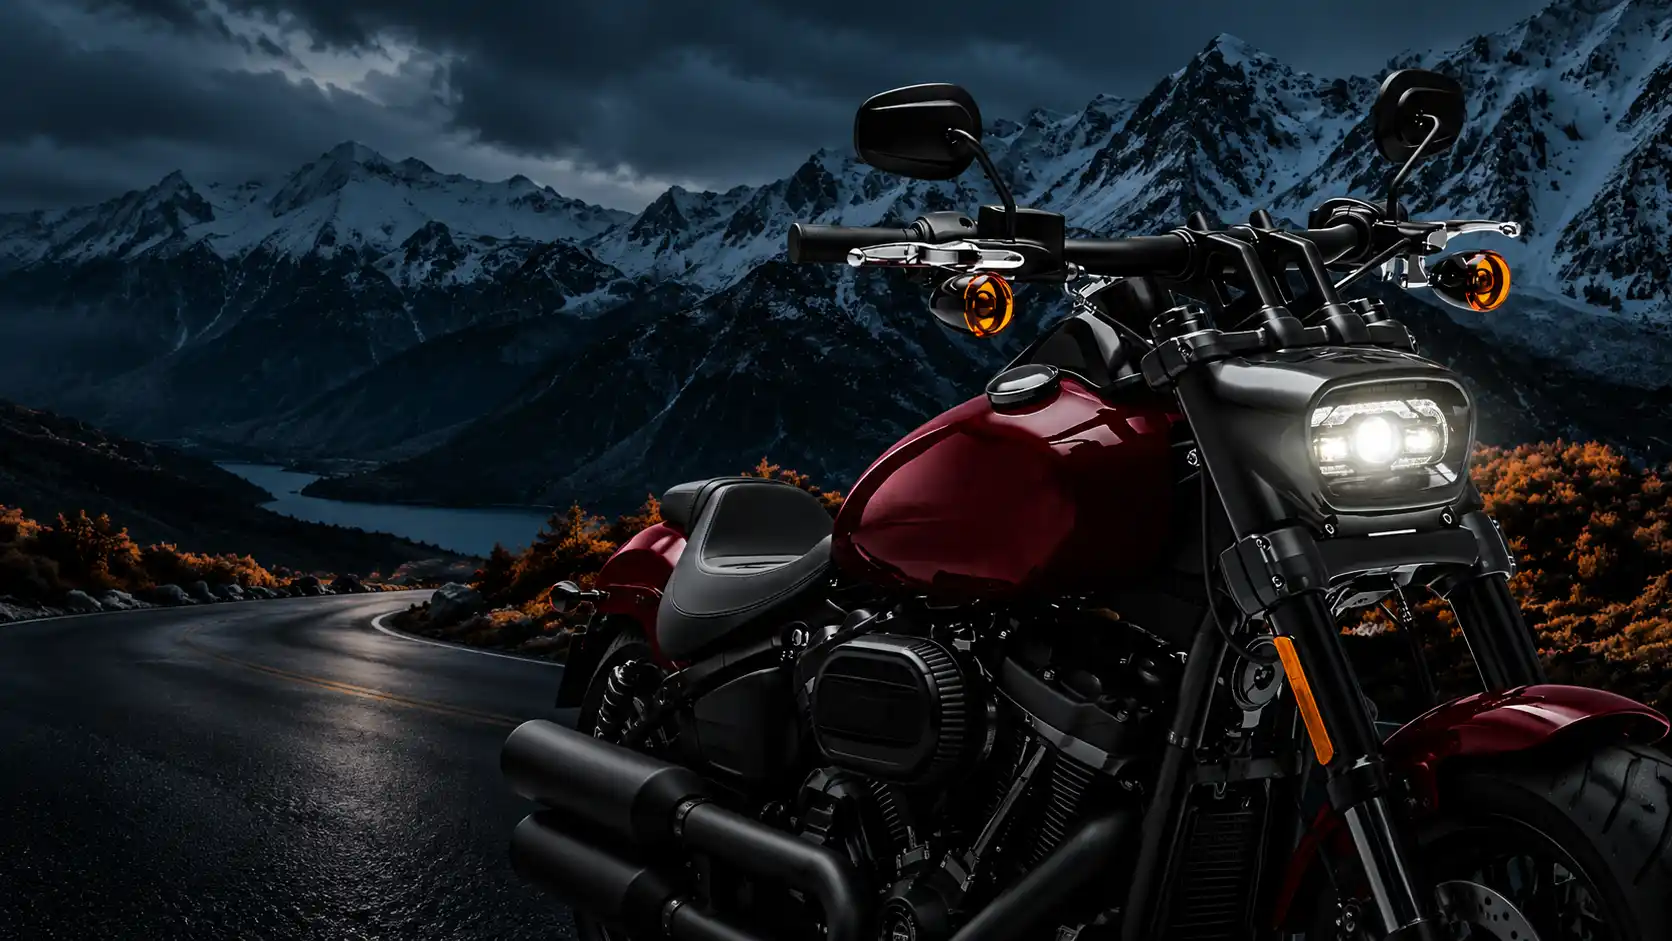
LOYO LIGHT / CASE STUDY
Motorcycle Headlight Adapter Harness
200 Plug-In Kits
One motorcycle had a four-pin factory plug. The LED headlight used three wires. We built a matching adapter so the customer could offer the light and connector as one kit, without asking installers to cut the bike’s wiring.
200headlight kits
4-pin → 3-wireconnector match
No wire cuttinginstallation goal
The quick answer
Can a three-wire LED headlight fit a four-pin motorcycle plug?
Yes, with an adapter made for the exact motorcycle and headlight. First, confirm what each factory pin does, including the fourth pin. Then match the lamp wires, build the harness, and test each finished connection. This 200-kit project followed that sequence. A test on the target bike is still needed to confirm every light function and check for flicker or warning lights.
For a rider, that means a cleaner installation. For a shop or lighting brand, it means fewer wiring questions after the sale. The connector shape alone cannot tell you whether the lights will work correctly.
Why fitment matters
A better headlight still needs the right connection.
The Motorcycle Headlight Market 2025–2029 report forecasts USD 1.43 billion in market growth from 2024 to 2029, at a 7.2% annual growth rate. Market growth does not make every replacement easy to install. The lamp plug and the bike’s wiring still have to match.
The issue does not end when the plugs connect. On vehicles that monitor lamp load, an LED upgrade can cause a false bulb warning or flicker. The lamp, adapter, and motorcycle need to be checked together before a kit is described as plug-and-play.
The project
One headlight. One custom adapter. 200 sets.
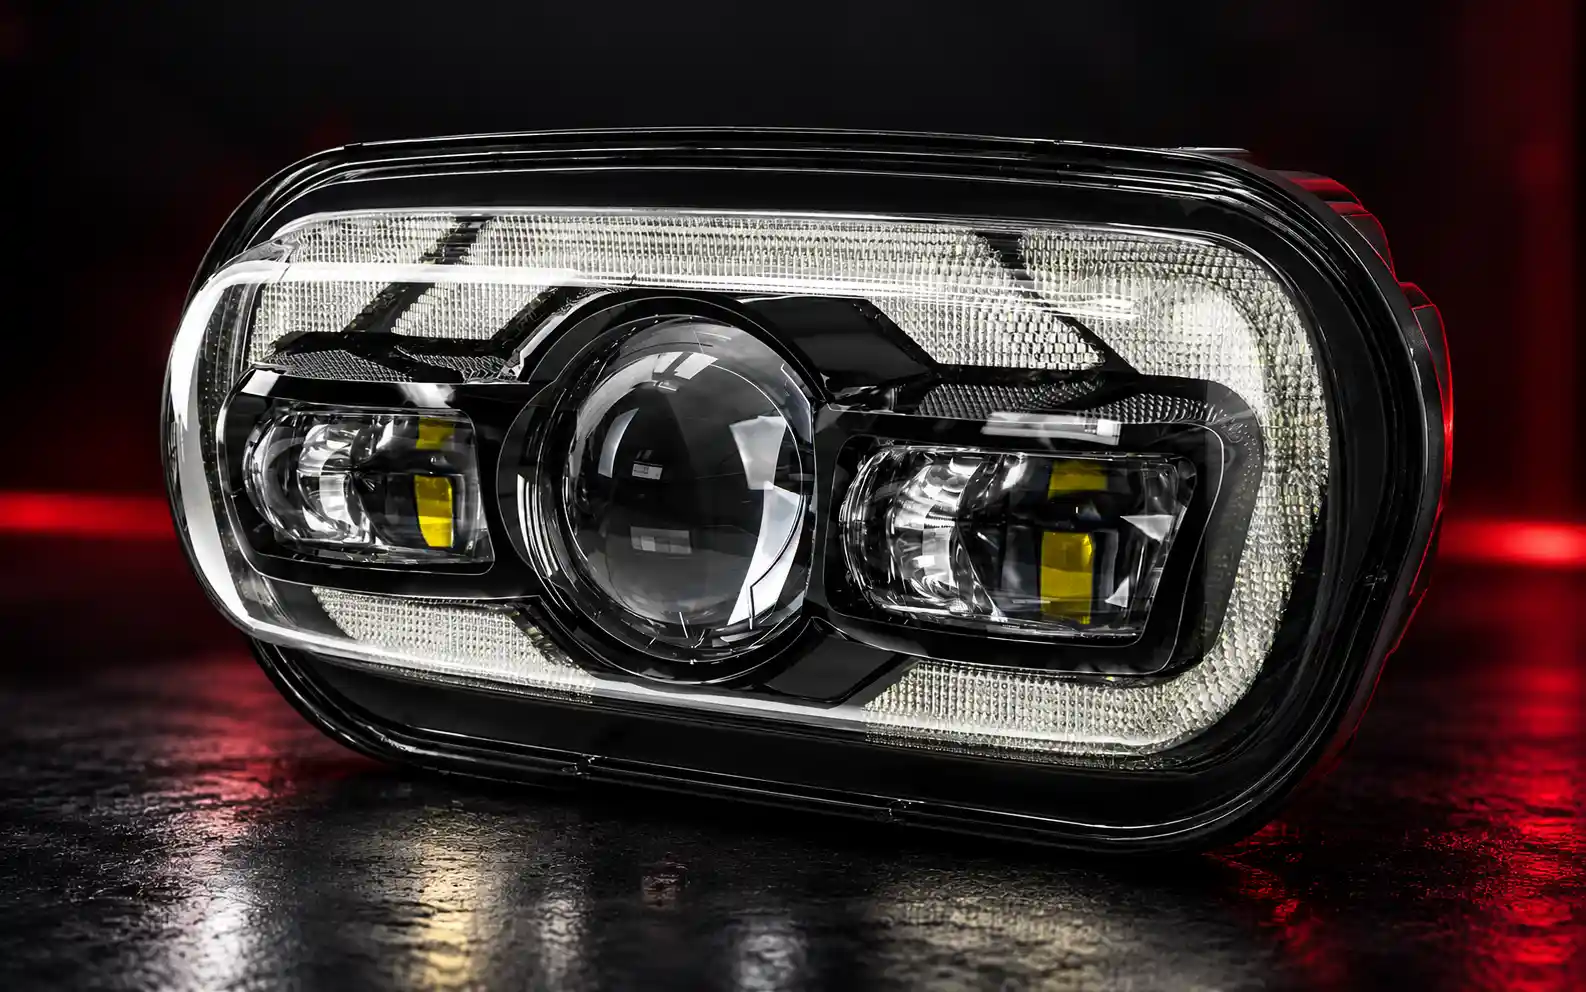
A customer wanted a Fat Bob style LED headlight supplied with a connector that would plug into the target motorcycle’s factory wiring.
The connection we had to solve
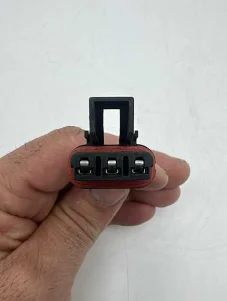
The motorcycle used a four-pin factory connector, while the headlight had three wires: ground in the middle, low beam/daytime running light on one side, and high beam on the other. The adapter needed a matching plug on the bike side. Before making it, we had to confirm the connector’s viewing direction, every pin position and wire color, and what the fourth factory pin does.
The customer wanted each light and adapter packed as a ready-to-install set. No cut factory wires. No guesswork for the installer. The bike’s electrical behavior, including any warning or flicker, would be checked during vehicle testing before wider installation.
What could go wrong
A matching plug does not guarantee a working light.
Three details determine whether the kit installs cleanly and keeps working: the wire functions, the terminal connections, and the harness length.
1. The wires are in the wrong positions
The same plug housing can have a different pin layout. If ground, low beam/DRL, or high beam goes to the wrong pin, the wrong light may come on or the circuit may be damaged. We wrote down each connection and had the customer confirm it before cutting any wire.
What to check: Ask for a diagram that shows the plug’s viewing direction, pin numbers, wire colors, and light functions. It must also explain the fourth factory pin.
2. A terminal loosens after installation
A motorcycle shakes and moves. A weak crimp can lose contact even when a new adapter passes a quick bench check. We set crimp dimensions, checked samples from the batch for pull strength, and tested every finished harness for the right connection.
What to check: Ask how the terminals are crimped and whether the maker can show its batch checks and results for all 200 adapters.
3. The cable is too long or too short
A short lead strains the plug. Extra cable may rub against a moving part or sit near engine heat. The length needs to follow the actual space between the factory connector and the back of the headlight, with suitable protection against water and rubbing.
What to check: Measure the path on the motorcycle and confirm where a protective sleeve is needed before approving the final length.

THE CONNECTION MATTERS
The plug must fit. The wires must agree.
We confirmed the headlight and motorcycle functions before building the adapter. That one written diagram guided all 200 sets.
How we built it
Confirm. Assemble. Check.
We started with the customer’s factory connector and wire information. The agreed connection diagram then guided wire cutting, terminal assembly, and the checks on each adapter.
Agree on every connection before cutting.
We marked the four positions in the bike’s plug and the three functions at the lamp. The diagram included plug orientation and the use of the extra factory pin. The customer approved it in writing so the team could build every adapter the same way.
Make the terminals hold, then check every adapter.
We controlled the terminal crimp and sampled the batch for pull strength. Each finished adapter went through a continuity check to confirm that power and ground reach the intended lamp wires. We checked all 200 units, not a small sample.
Install two or three sets before fitting the rest.
We recommended fitting two or three kits on the target motorcycle first. Check that the plugs lock, the cable has clearance, the daytime running light and both beams work, and no warning or flicker appears. These are vehicle checks, not results we can claim from a bench test.
Before you order
Four questions that prevent a bad fit.
- Do you know what each pin on the motorcycle does?
Get a confirmed wiring diagram. Do not assume that matching plug shapes mean matching wire functions.
- Will every finished adapter be checked?
Ask for terminal inspection records and a connection check on every unit in the order.
- How will you choose the cable length?
Measure the space on the motorcycle and allow clearance from hot and moving parts.
- Has the kit been tested on the target bike?
Check the connector lock, running light, low beam, high beam, flicker, and any dash warning before installing the full batch.
When is the kit ready for a full installation?
Move ahead after the wiring diagram is approved, all 200 adapters pass their connection checks, and the first bike installations confirm the lighting functions and cable fit.
Stop and check if the extra factory pin is unexplained, a wire color is being used as a guess, or the lamp flickers or shows a warning on the target bike.
First confirm the wires. Then cut and crimp. Changing a pin after assembly can mean reworking the whole batch.
What this case shows
A ready-to-install kit is proven on the bike.
- A four-pin plug and a three-wire lamp can be paired only after every pin function is confirmed.
- A written diagram keeps all 200 adapters wired the same way.
- Check crimp quality by batch and the electrical connection on every adapter.
- Measure cable length on the actual motorcycle and protect it where it may rub or get wet.
- Fit a few kits first. Check all light modes, warnings, and flicker before installing the rest.
A plug-in harness solves the physical connection. It cannot by itself promise that a vehicle’s lamp-monitoring system will accept the LED. Philips explains how lower LED power use can cause a false warning or flicker on some vehicles. That is why this kit still needs a check on the target motorcycle.
The useful result of this project is a repeatable build: one approved wiring diagram, controlled terminals, and a connection check for each of the 200 adapters. The headlight and harness belong in the same installation plan.
Headlight + matching harness
Need a light that plugs into your motorcycle?
Send the motorcycle model and year, photos of the factory plug, the headlight wire information, and your expected quantity. We can review the light and adapter together, then confirm what must be tested on the bike.
Talk About Your Headlight Kit